Scenes are used to integrate multiple elements and sections of your campaign into a single compact experience. Scenes enable you to add progression, boost interactivity and add immersive storytelling in your project.
Each scene has a content creation canvas on which you upload and place your content for the experience.
Each has the following controls and properties:
- Add/Delete Scenes : When creating a new campaign, you start with your first scene to begin designing the experience. EvolveAR CMS supports multi-scene experiences, the limit of multiple scenes depends on your account type. Using multiple scenes you can add multiple sections in your project with their own content and link up all scenes with interactions and assets.
You can read more about available scenes by each subscription plan in the following article:
<URL for subscription plan limits>

With the options, you can add a new scene into your campaign or remove a selected scene.
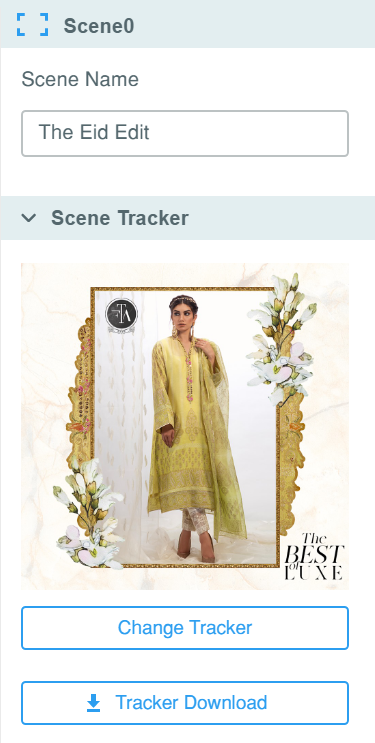
- Scene Tracker: For Tracker-based projects, the section displays your project tracking image. You can change the marker for your campaign from the option provided. You can also download your tracker image.
For Tracker-less projects, the section will display your project QR code that you scan to view all scenes for the current project

- Grid and Marker opacity: The opacity options are available for you to toggle their density while designing your experience. The controls help you view content over your tracker image more efficiently.

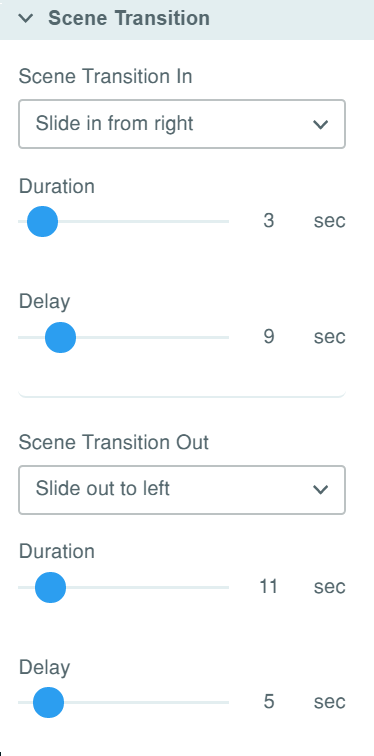
- Scene Transition: The section is used to add basic animations on the scenes to be displayed to the viewer. Transitions allow users to add visual appeal and affects to their content. There are two types of transitions:
- Transition-In : Animations play when a scene begins
- Transition-out: Animation plays when a new scene is triggered from the current scene
Each transition has a set of animations that can be specified for their duration of play and delay to build a sequence of animations.


